Where to place a sticker on an Arai helmet? The 5 areas that work
Share
You've just chosen your sticker and one question is holding you back: where to stick it? On an Arai SZ-R helmet, the shell offers several very different areas. Some require a large format, others a small one, and a few should be avoided. Here are the five locations that work, and how to choose them.
1. The front: the original lettering area
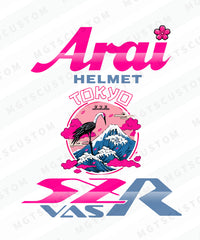
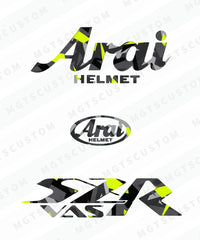
This is the most visible area, where the original "Arai" lettering is located. It accommodates the original size, designed to match the format of the standard lettering. If you want your helmet to be recognizable from afar, this is where it counts. Designs with bold lettering (bright colors, flags, characters) make the most impact here.
2. The sides of the shell
The sides are the areas you see when you are stationary, in profile, or when someone overtakes you. A Light with the same design as the front sticker creates a real sense of cohesion. Choose an unobstructed location, without tight angles, and check that it is not obstructed by a mechanism or visor mount.
3. The back, around the vent
The back of the shell is seen by everyone riding behind you. The Light size finds its place there, around the vent without ever covering it. A reflective design works particularly well in this spot: read our article on reflective stickers and the law in France.
4. The top of the shell
Few people think about it, yet the top is visible from taller vehicles (trucks, buses), on photos of your helmet sitting down, and in all videos shot from above. A well-centered Light gives the helmet a "finished" look.
5. The side pads
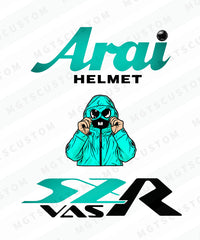
The side pads are a small, more discreet surface. This is the ideal place for a personal touch: a small flag, a symbol, a design nod. This is also why the Light size was designed: its "Arai Helmet" lettering is too small to replace the front logo, but very well suited to these areas.
Areas to avoid
- Air intakes and vents: never cover them, even partially.
- Visor mechanisms, screws, and mounts: keep them clear.
- Very curved areas for a large-format sticker: the edges are likely to lift. Prefer a smaller format.
- Helmet labels and markings: do not cover them.
Three combinations that work
- The classic duo: an original-size sticker on the front, a Light with the same design on one side.
- The complete set: the original on the front, a Light on each side, and a Light on the back. With the 3rd sticker free from 3 stickers, the total remains reasonable.
- The understated helmet: a single sticker, well placed, on a clean helmet. Less is often more.
Test before sticking
Once a sticker is applied, it cannot be moved: it is better to hesitate beforehand. Use the 3D preview to see your design on a helmet, then follow the four-step application guide. To choose your model, look at the SZ-R Vas line or the SZ-R Evo line.
Frequently asked questions
Can you stick a sticker on the visor?
Our stickers are designed for the shell. The visor must remain perfectly transparent: we do not offer stickers for this area.
How many stickers should you put on a helmet?
There is no rule. For most styles, one to three stickers are enough. Beyond that, the helmet risks looking cluttered.
Can you mix several different designs?
Yes, provided you maintain color or thematic consistency. The easiest way: a main design and one or two Lights from the same theme.
M-GTS Custom is an independent brand, with no official connection to Arai Helmet. For anything related to your helmet, refer to its manual.